Intermediate Tutorial
In this Tutorial we will continue with the project that we started in the Beginner Tutorial. If you haven't done it, please have a look at it.
Let's go!
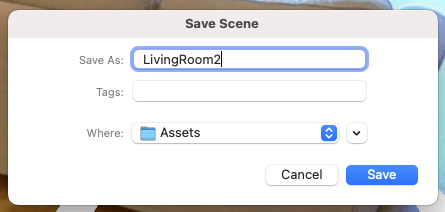
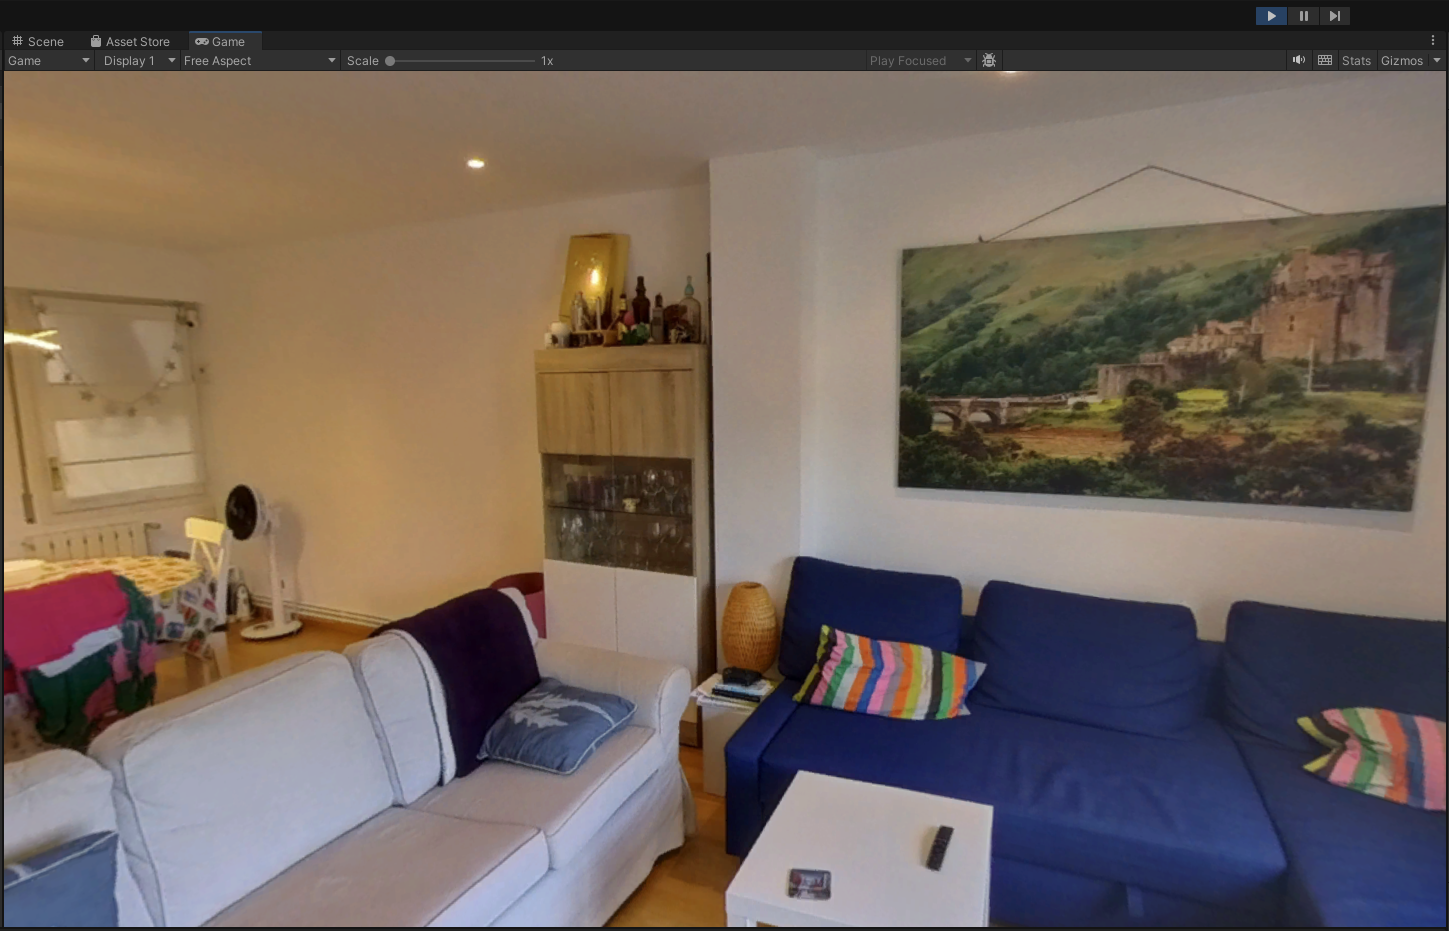
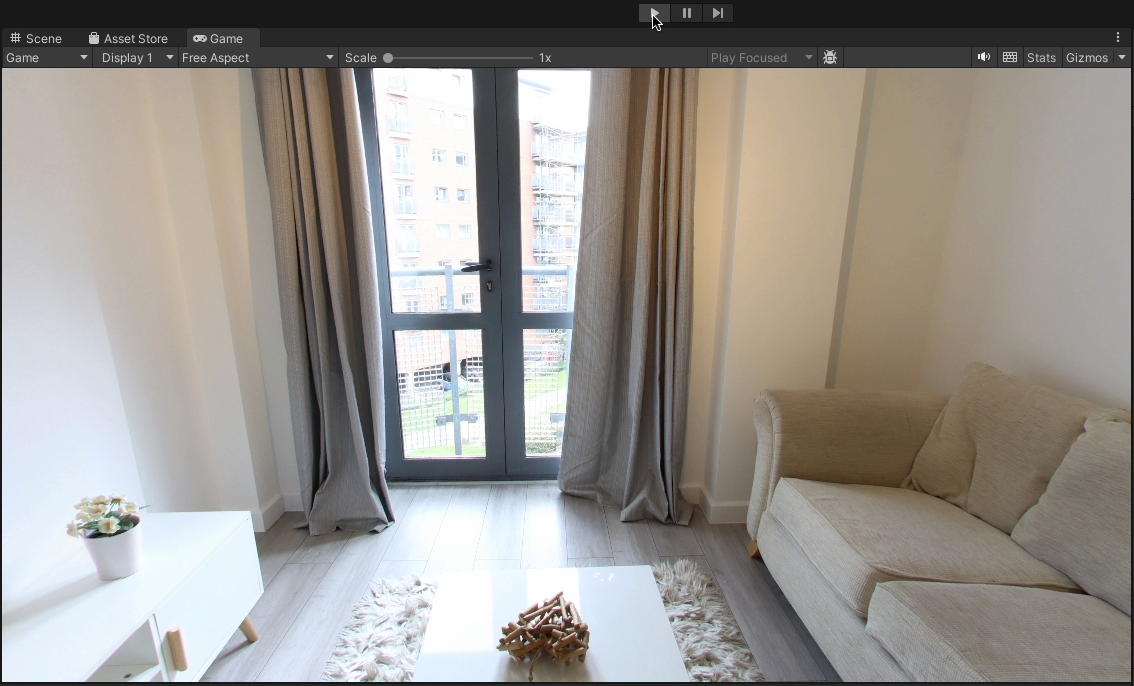
1. Import a new 360º image to create a new IndretsVRVirtualTour Scene. LivingRoom2.Hallway.jpg in my case.
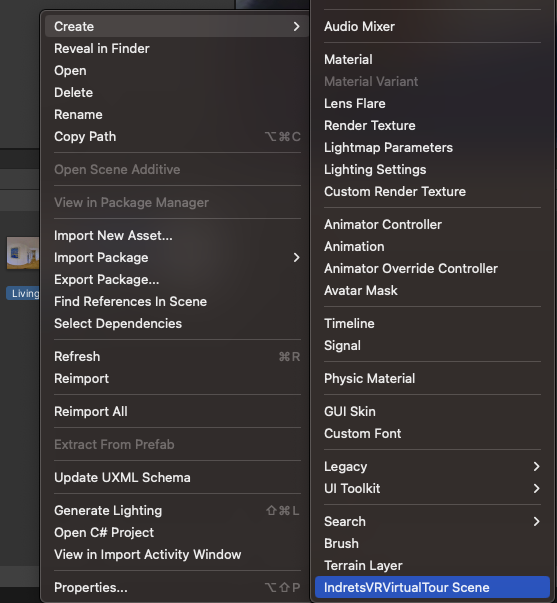
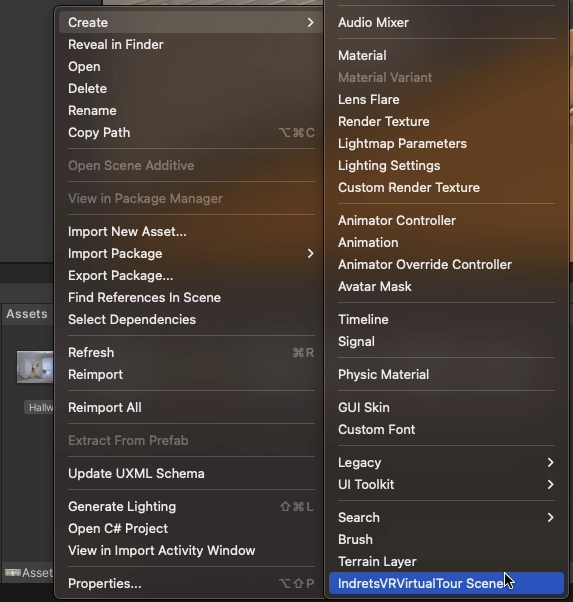
2. Right-click with your mouse over the image and choose Create -> IndretsVRVirtualTour Scene
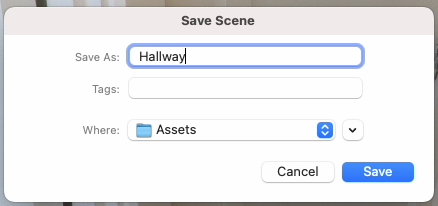
3. Save the new Scene with a relevant name
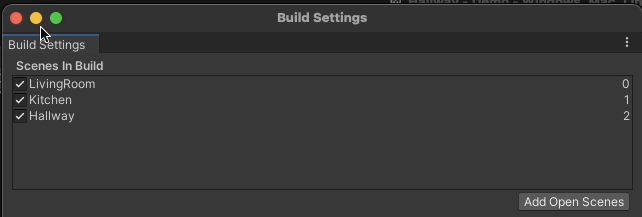
4. Add the Scene to the Build Settings
5. Rename the Hotspot to LivingRoom1LivingRoom, because it will be our Target Scene. It's not mandatory to name your Hotspots and your Scenes the same, but it will help you identify things quickly.
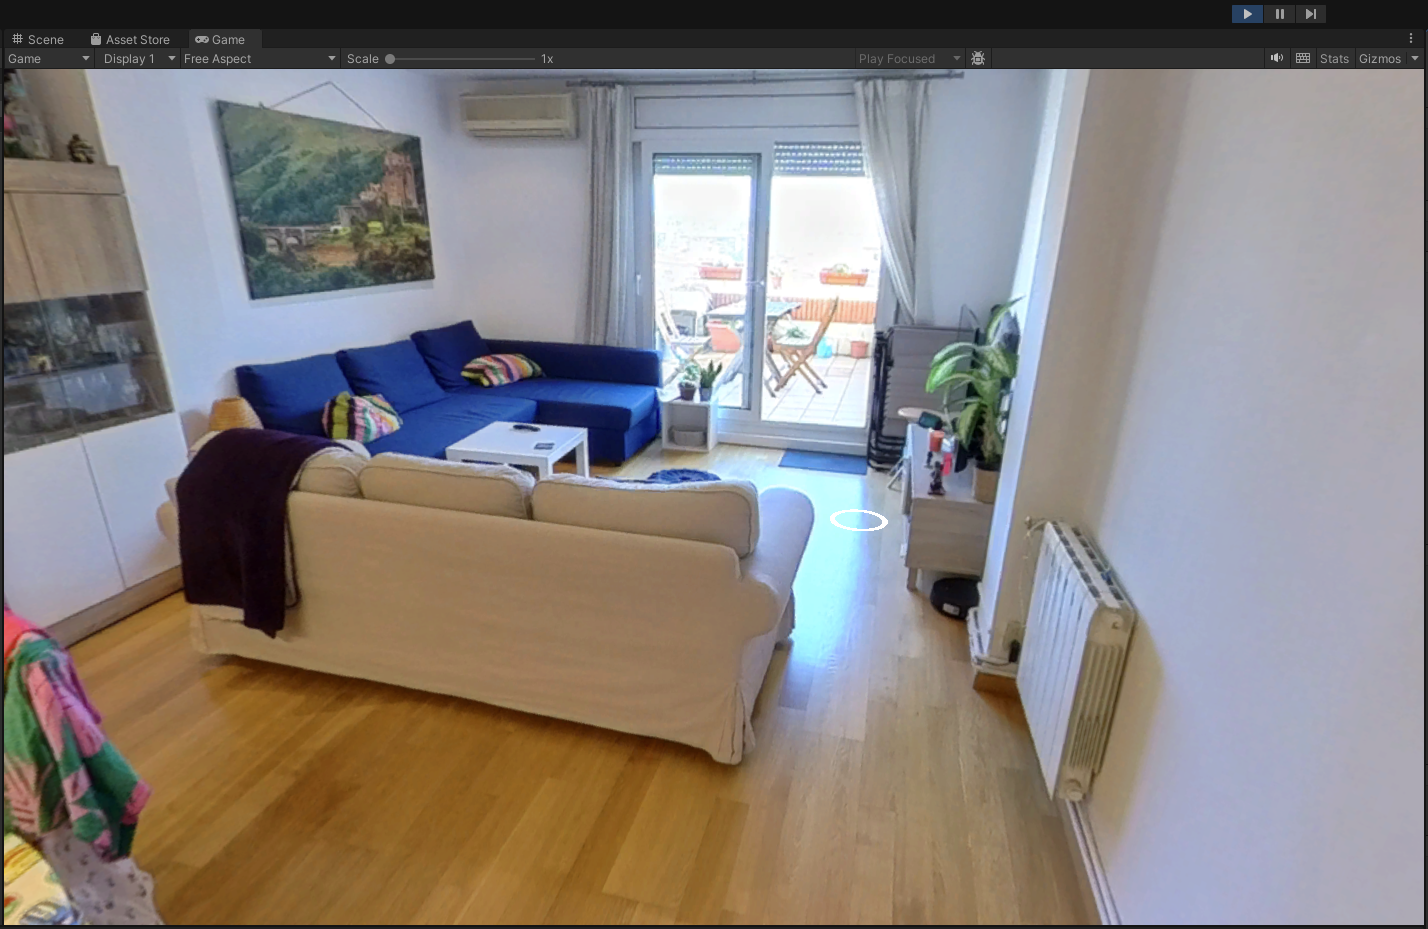
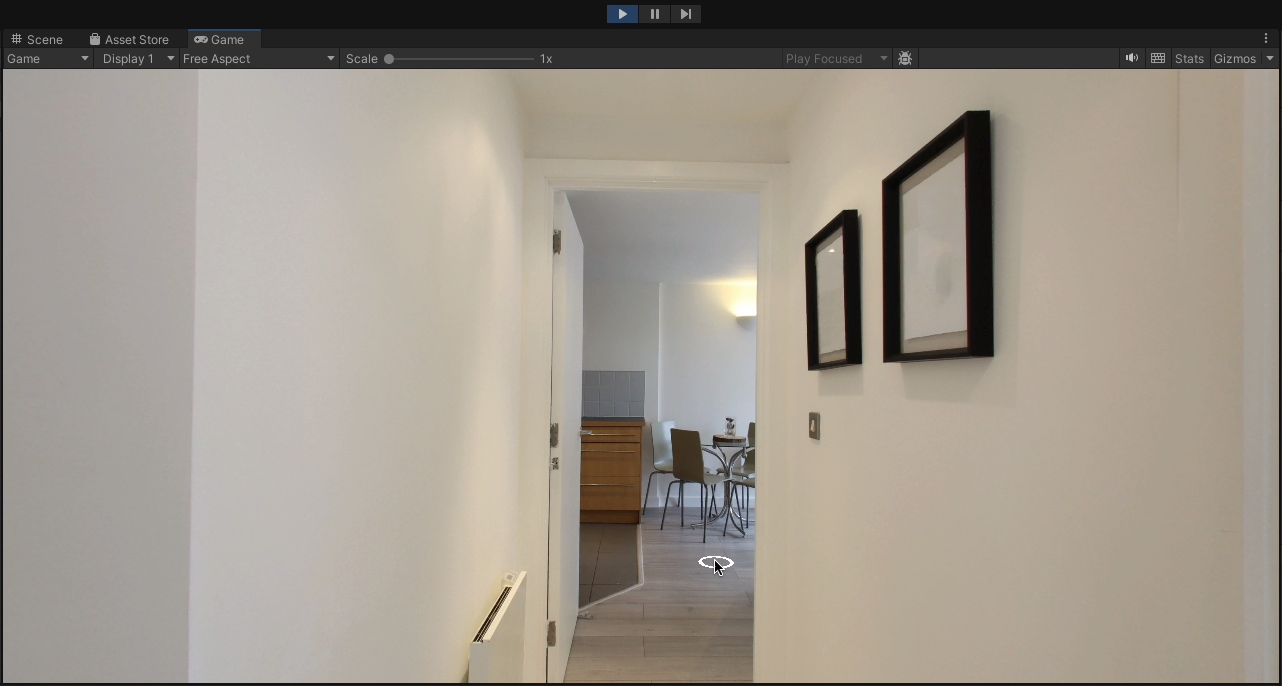
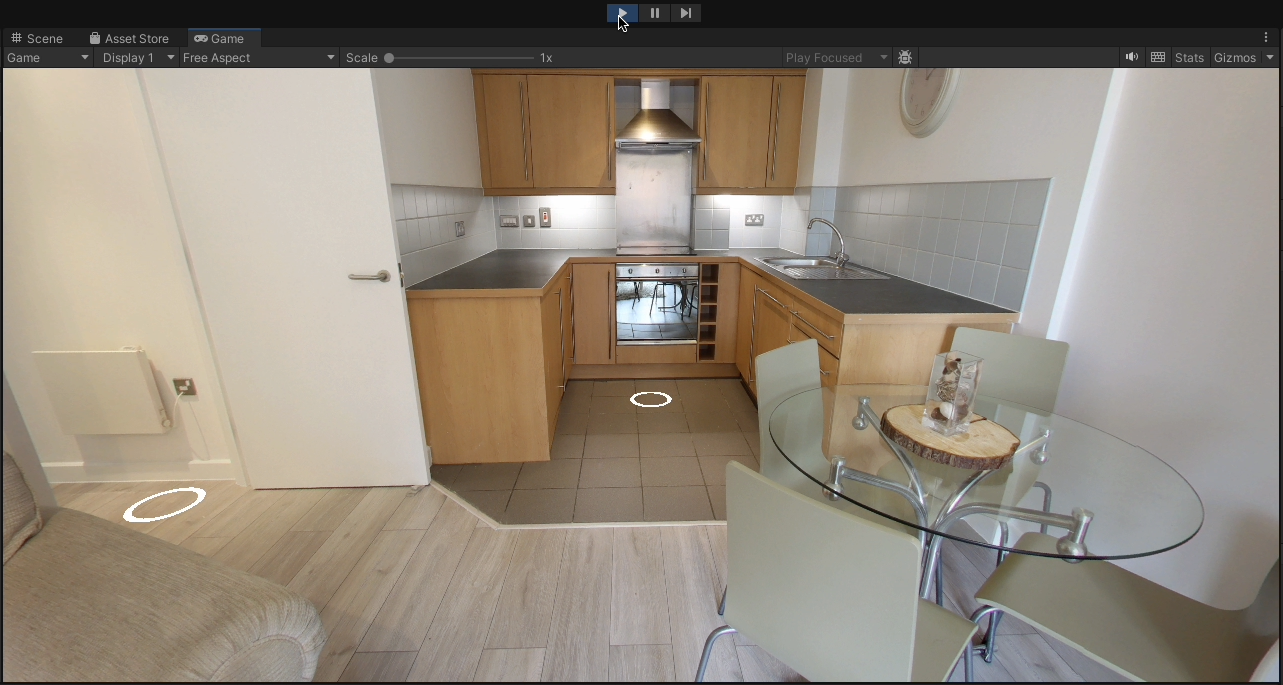
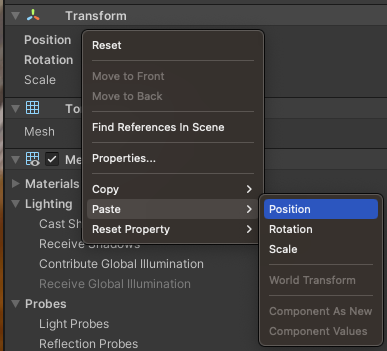
6. Go into Play Mode and place the Hotspot where you want it to be. Remember to copy its position with Transform -> Copy -> Position
7. LeaveExit Play Mode,Mode, set the new Hotspot placement with Transform -> Paste -> Position and set its Target Scene to LivingRoom1LivingRoom. In this case is mandatory to use the name of the Scene, as you already guessed.
8. Let's go back to Play Mode to check that everything is working as expected.
9. If everything looks good, save your Scene (if it's not) and open LivingRoom1LivingRoom
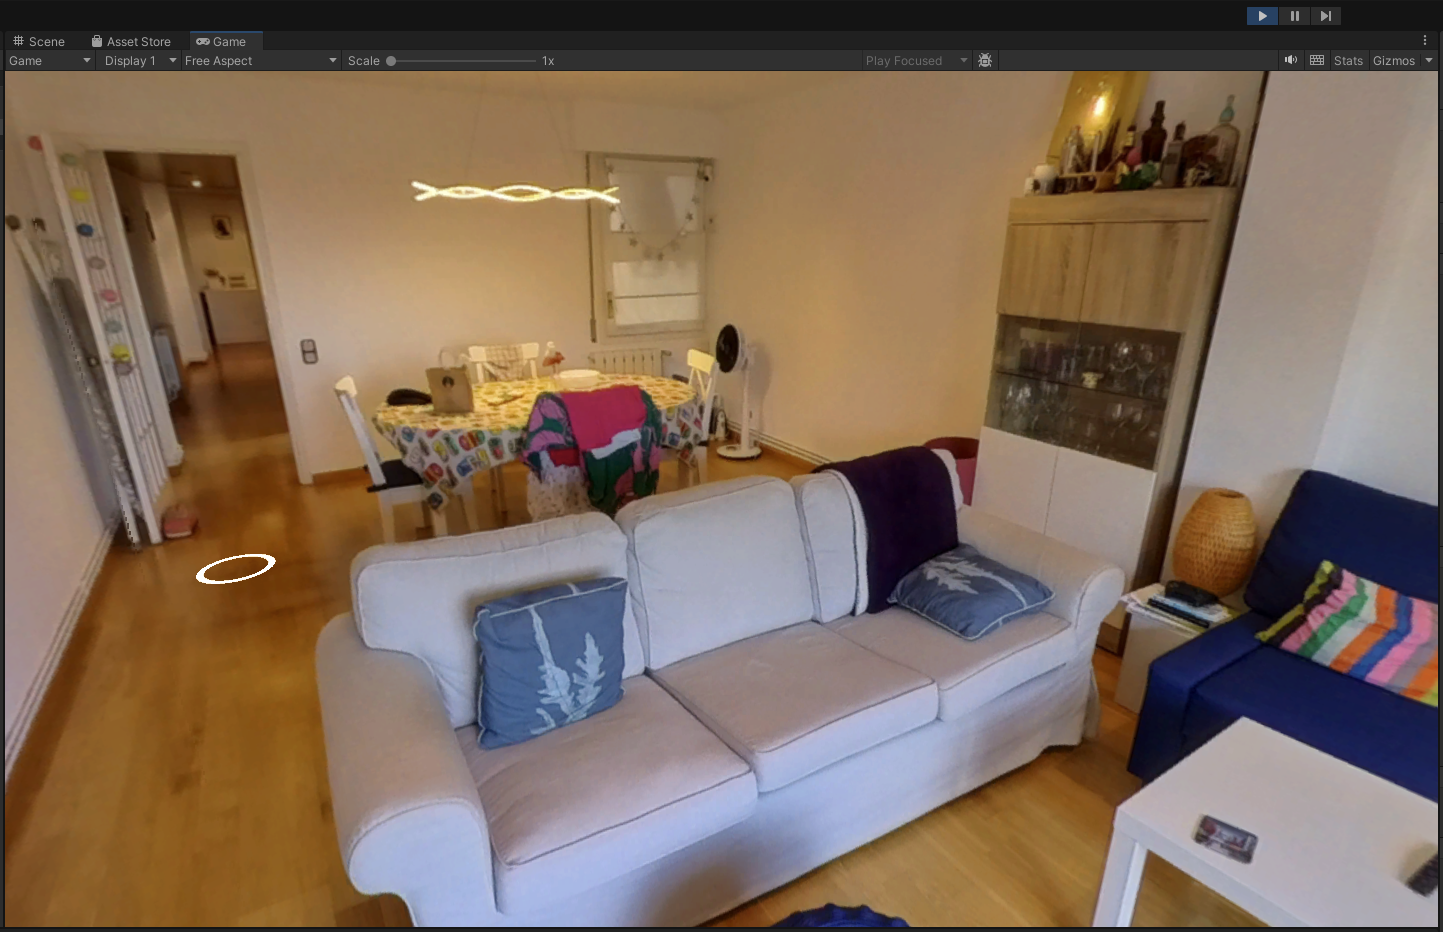
10. Duplicate the TerraceKitchen hotspot object and rename it to LivingRoom2Hallway
11. Set its Target Scene to LivingRoom2Hallway too
12. Now enter Play Mode. Since we have duplicated the TerraceKitchen hotspot, now both hotspots will be placed in the same position. Select the LivingRoom2Hallway object in your hierarchy and slightlymodify modify(slightly) its X or Z position,position in the Inspector, so you can identify which one is it. Now you can Drag&Drop it to the desired position with your right mouse button. When you are happy with it, copy its position with Transform -> Copy -> Position
13. Paste the new position to the LivingRoom2Hallway hotspot right-clicking on Transform and then choose Paste -> Position
14. You can go into Play Mode and check that everything is working as expected.
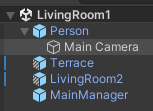
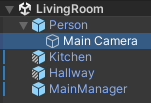
15. As you may have noticed (or maybe not) when an Scene is loaded, the camera is not always showing the most exciting view. But fortunately, we can fix that! If you unfold the Person object, you'll reveal the Main Camera object.
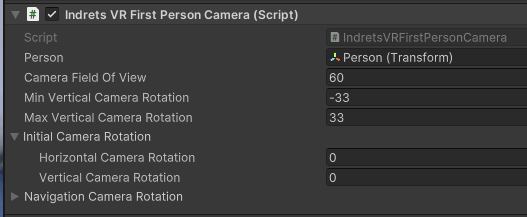
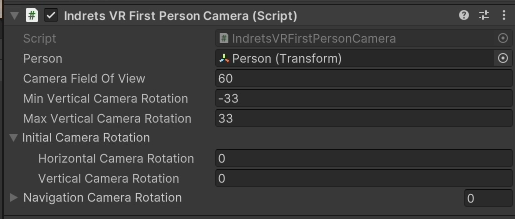
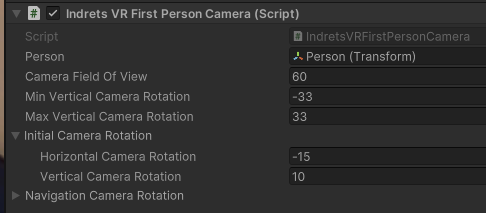
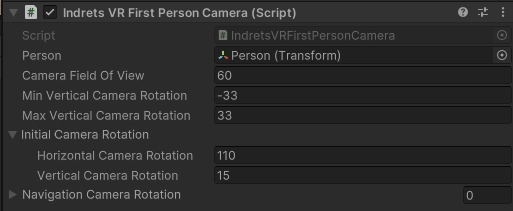
16. Select the Main Camera and in the Inspector you will see all the different values that you can set to tune-up your Virtual Tour, from a Camera perspective. For now we are going to focus in the Initial Camera Rotation
17. If you want your camera to turn 90º right (from its current position) when the scene loads, set 90 as the Initial Camera Rotation -> Horizontal Camera Rotation. If you want it 45º to the left, set -45 . If you want to set a positive value and get the same result you can set 315, which is 360 - 45.
18. You can do the same with Initial Camera Rotation -> Vertical Camera Rotation. If you want to moverotate your camera upupwards you can use a negative value (or subtract it from 360). To moverotate your camera downdownwards use a positive value.
19. Finally you can check in Play Mode that the Camera is pointing to the proper place when the Scene loads.
That's all for now. In the Advanced Tutorial we'll have a look at all the settings that you can customise, so if you want more, go for it!


