Quick Tutorial
Creating a Virtual Tour with IndretsVR Virtual Tour package for Unity couldn't be easier following these steps:
Quick Note: If you don't have any 360º images right now to follow the tutorial you could obtain some for free at https://pixexid.com/search/360-panoramic
Here we go:
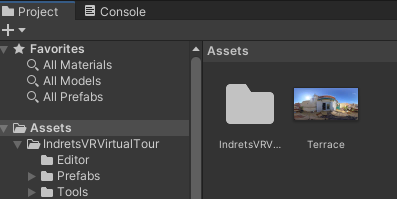
1. Import a 360º image inside your Assets folder (or an Images folder inside Assets, etc... your folder structure is up to you)
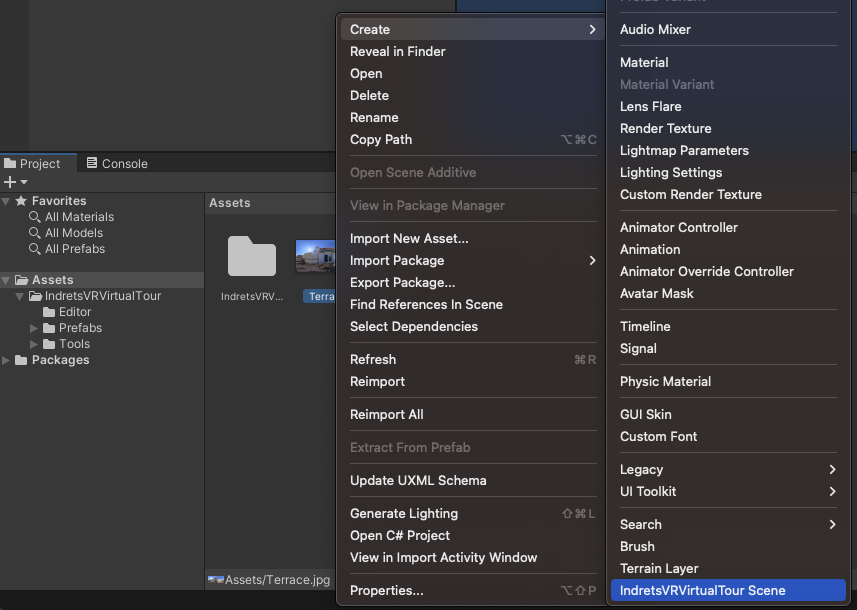
2. Click on the image with the right mouse button and select Create -> IndretsVRVirtualTour Scene
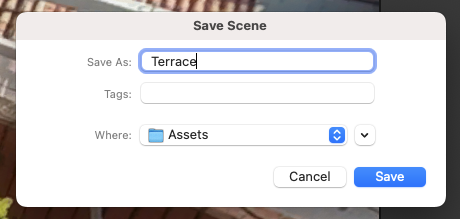
3. Et voilà! The first stage of your Virtual Tour. That was easy, wasn't it? Now save the Scene with a relevant name, Terrace in my case. Choose the folder that better suits you.
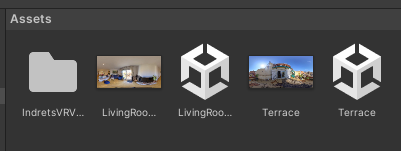
4. Now we are going to repeat the steps 1-3 with a second 360º image. LivingRoom1.jpg in my case.
5. This is getting interesting. Now we are ready for a very simple, but yet powerful, Virtual Tour.
6. Open the Terrace scene. As you see we have 3 objects: Person, Hotspot and MainManager. To know more about them please check [this tutorial].
7. For now we are going to rename the Hotspot object to something more relevant, in my case LivingRoom1, because this is where we want to move when we click over the hotspot with the mouse left button.
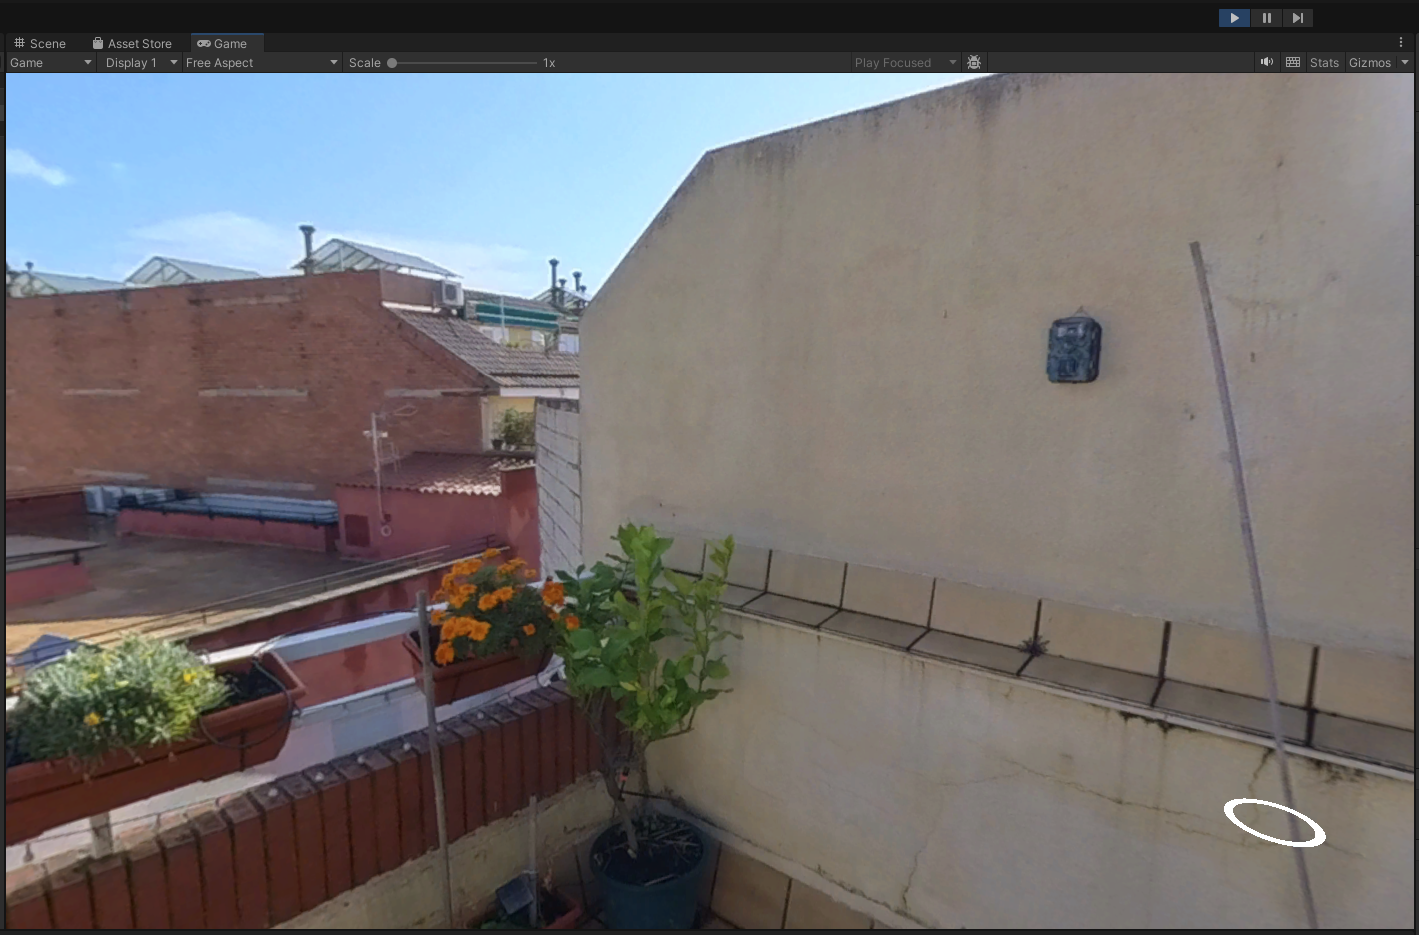
8. We need to position the hotspot in an appropriate place. To do that, please enter Play Mode by clicking on the Play button.
9. If you click with the left mouse button anywhere on the scene and, without releasing it, move in any direction, you will find that you can rotate and visualise the entire room.
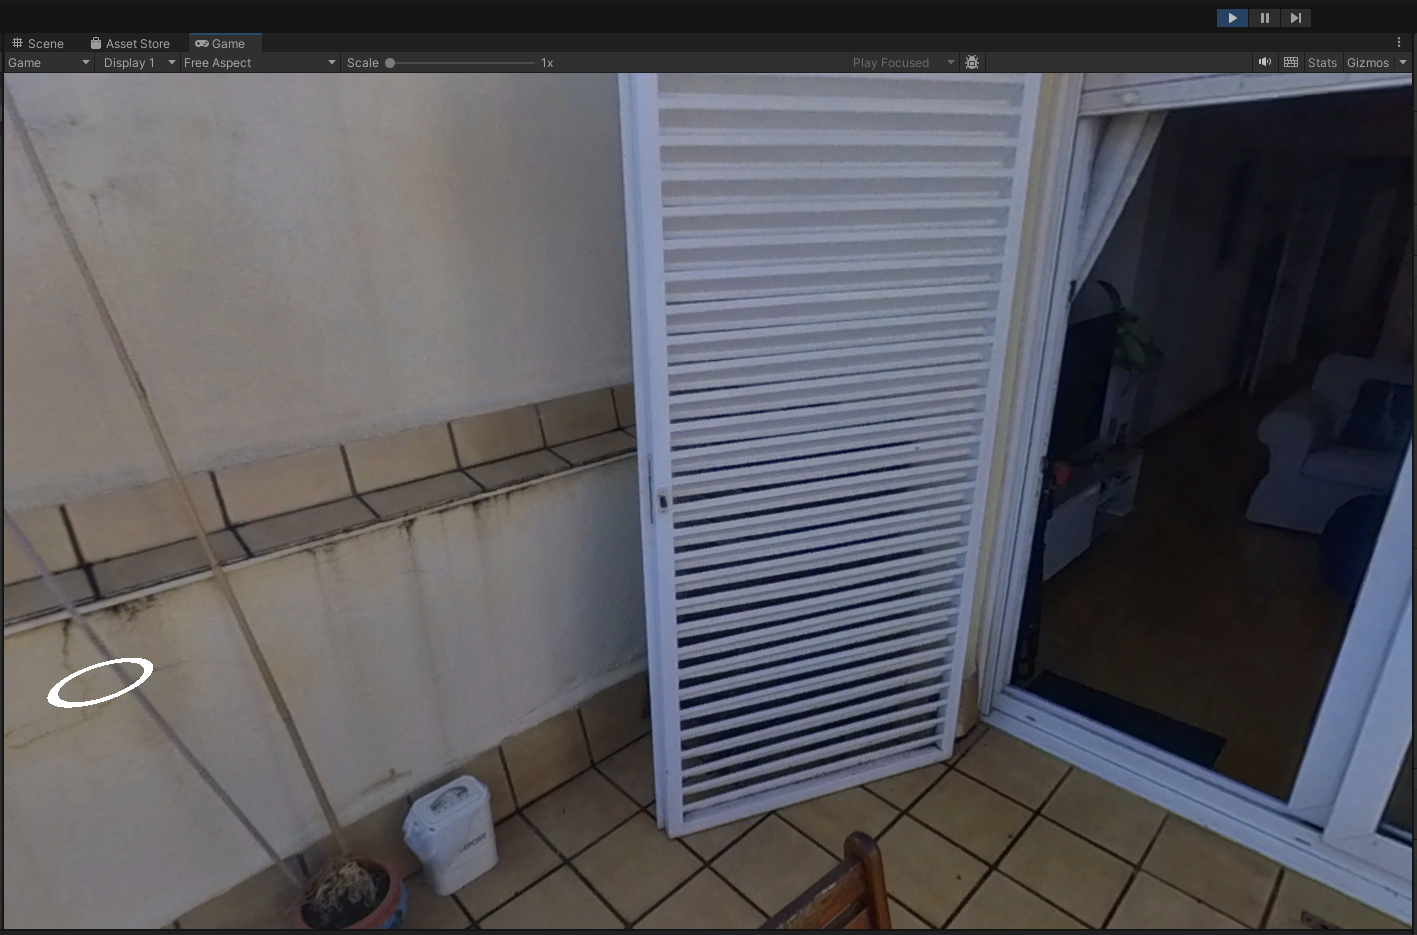
10. The Hotspot is in it's default place. Rotate in order to find the most appropriate position.
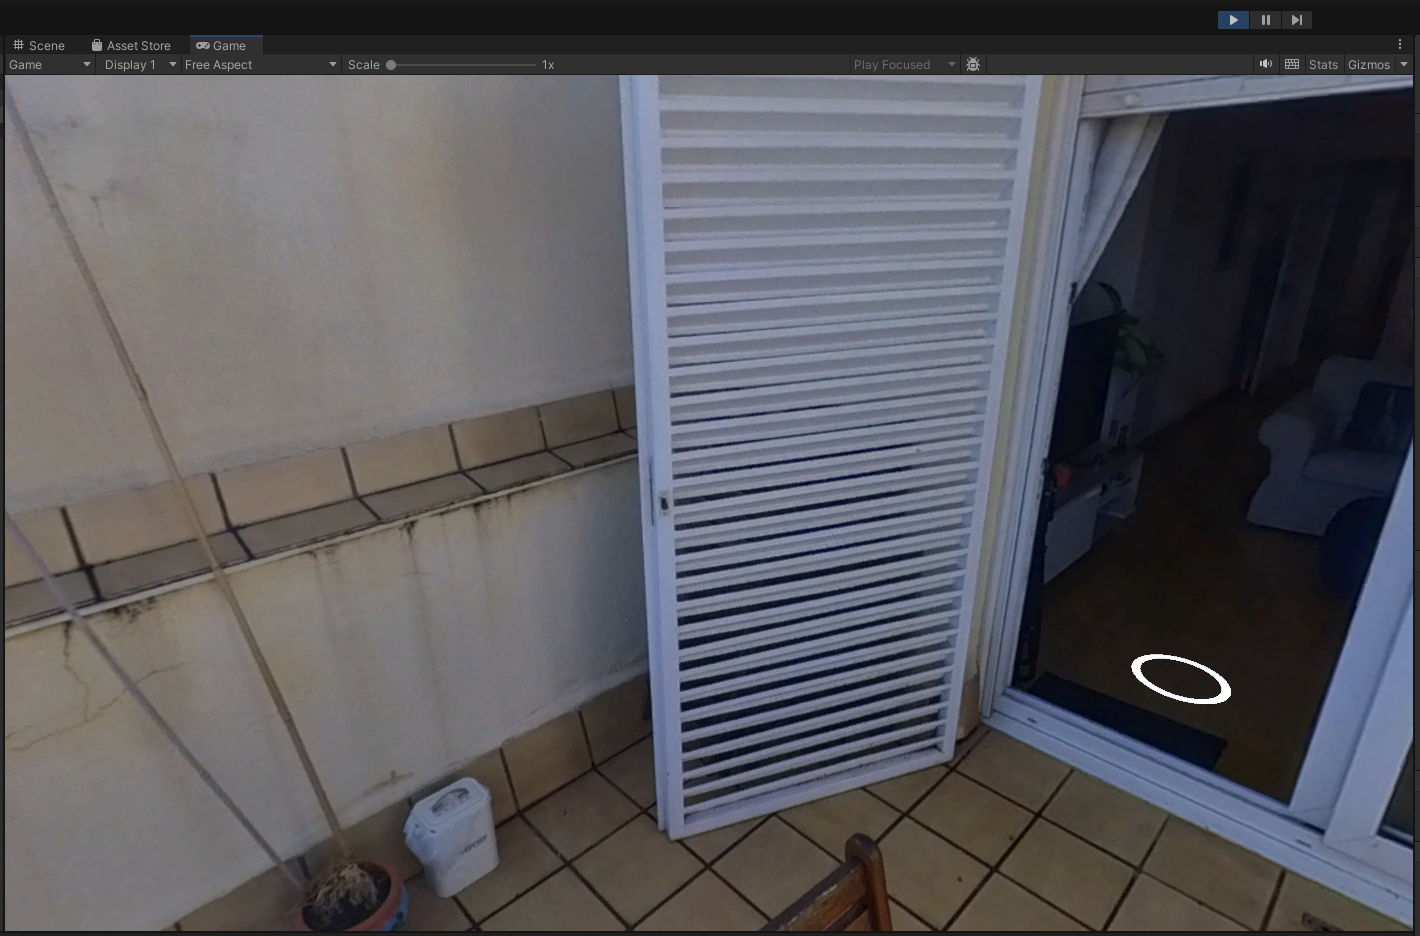
11. Drag&drop the hotspot using your right mouse button. By the way, this will not work in your built Virtual Tour app, for obvious reasons :)
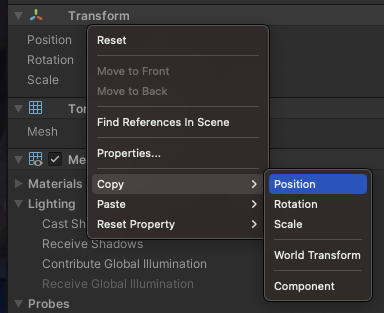
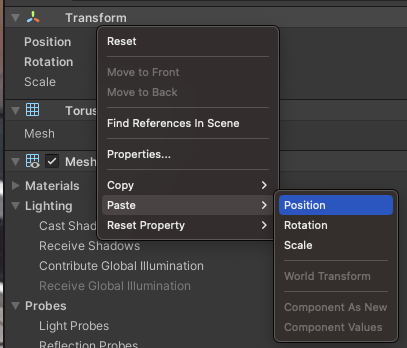
12. Now we need to keep these Hotspot coordinates when we leave Play Mode. With the hotspot (LivingRoom1 object) selected on your object hierarchy, go to the Inspector and right click over Transform -> Copy -> Position
13. Leave Play Mode and, with the Hotspot selected, go to the Inspector and right click over Transform -> Paste -> Position. Next time you got into Play Mode the Hotspot will be placed where we want it to be.
14. Now we want to go to the LivingRoom1 when we click on the hotspot. In the Inspector, locate the Indrets VR Scene Manager component attached to the hotspot, and set the Target Scene. Save the scene after that.
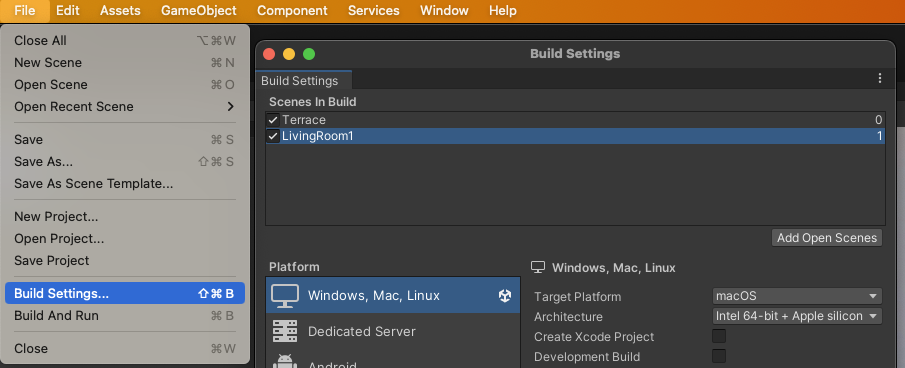
15. If we go to Play Mode you should now be able to navigate to the LivingRoom1 scene. But before that let's go to the Build Settings and add our scenes.
16. Open LivingRoom1 scene and repeat the process to rename, place and set the of the Hotspot. We want it to be Terrace.
And that's it, this is our first Virtual Tour. Not the most exciting one, but it shows the simplicity and potential of the IndretsVR Virtual Tour package for Unity.

