Advanced Tutorial
In this Tutorial we will continue with the project that we started in the Beginner Tutorial, and that we improved in the Intermediate Tutorial. If you haven't done it, please have a look at it.
1. First, let's set the Initial Camera Rotation for all our Scenes until they suit our needs. Go on to step 2 when ready.
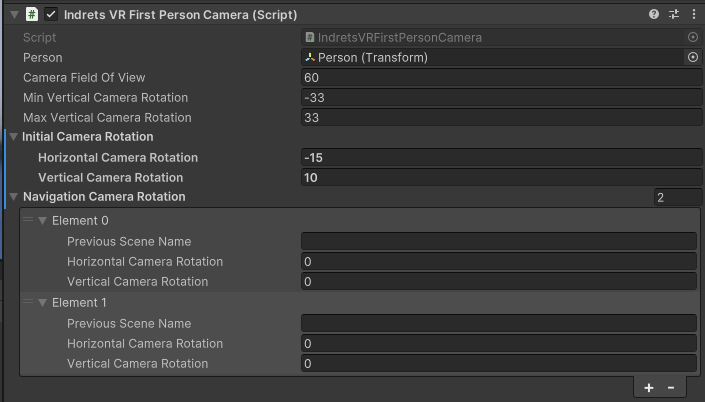
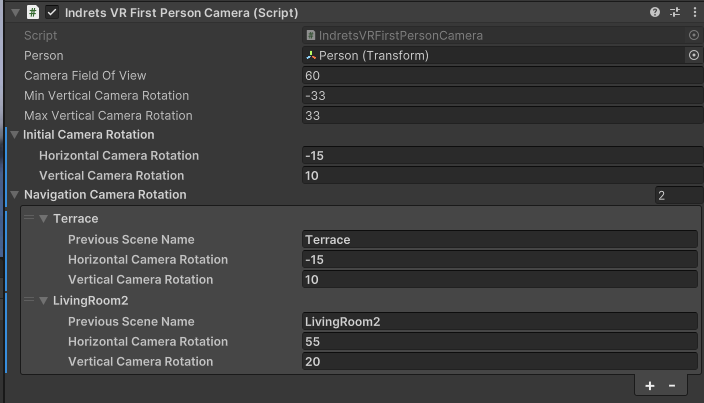
2. As you know, we have 2 hotspots in LivingRoom1, this means we can "land" in LivingRoom1 from two different scenes: Terrace and LivingRoom2. What if we want to have different Initial Camera Rotation depending on which room we are coming from? Fortunately, we can do that with the Navigation Camera Rotation. Let's open the Inspector and add to new elements in the Navigation Camera Rotation
3. I'm going to define different rotations depending on which Scene we are coming from. Actually is not necessary to define a specific orientation when is the same as the Initial Camera Rotation but I've done it here for the sake of understandability.
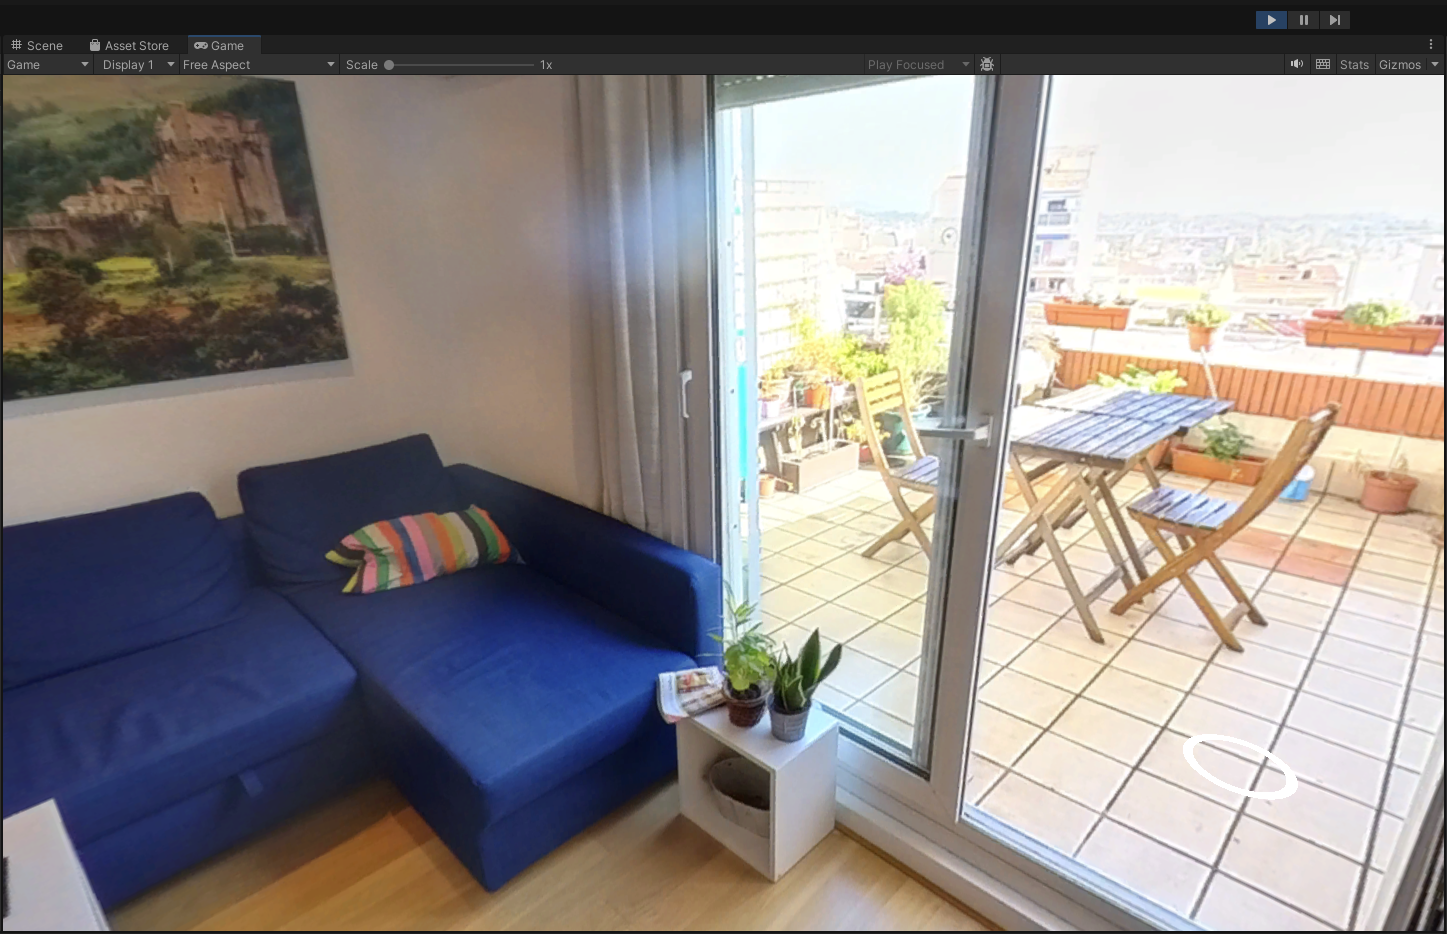
4. This is the initial view when I land in LivingRoom1 from the Terrace
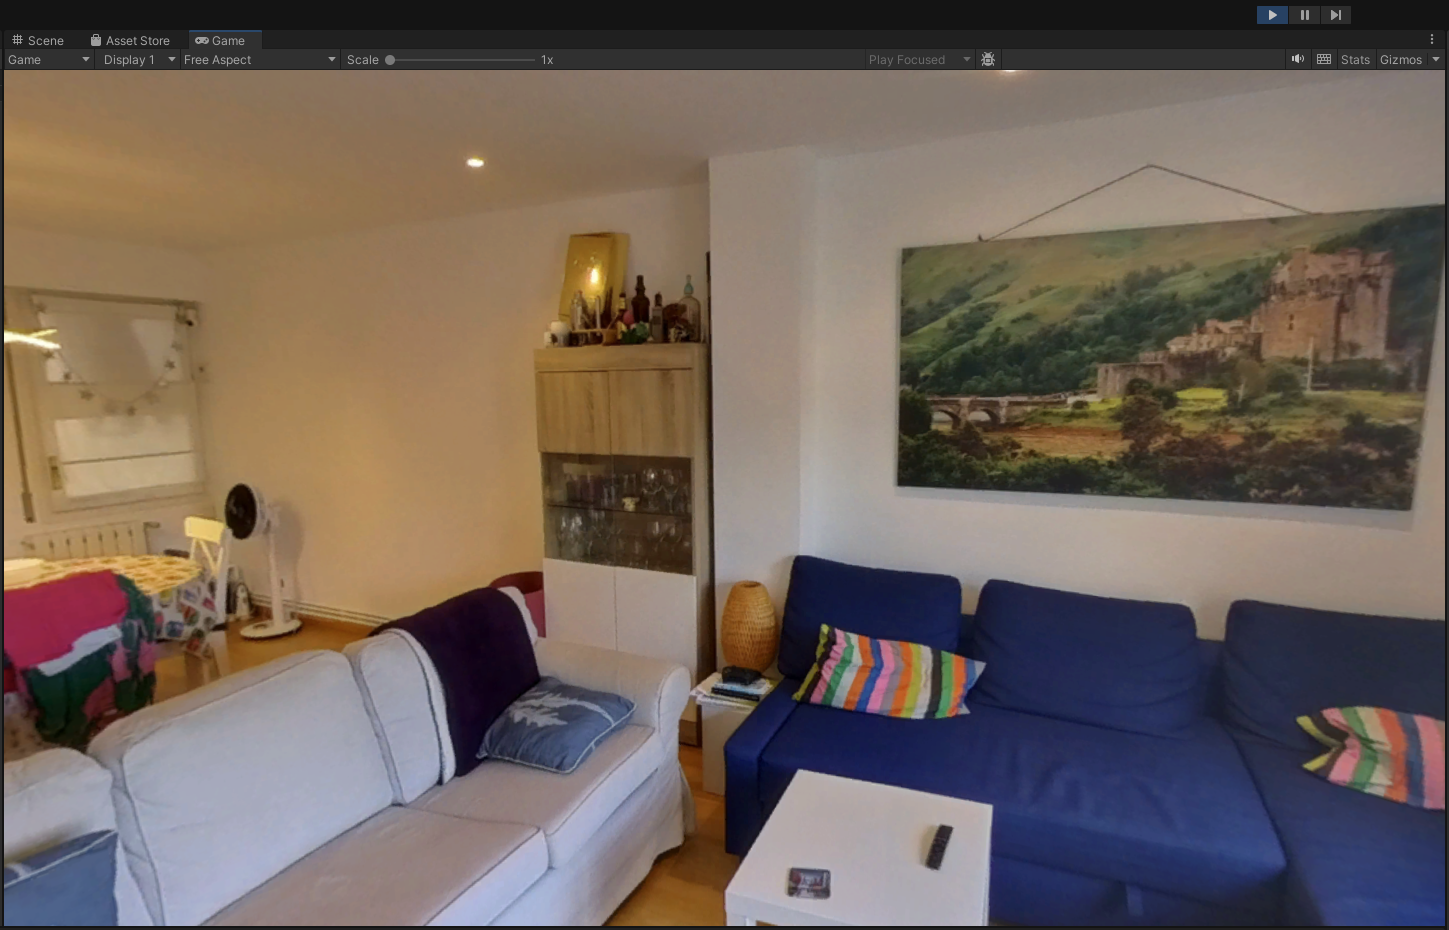
5. And this is the initial view when I land in LivingRoom1 from the LivingRoom2
6. Maybe you don't think is very useful in this case, and I can give you that, but I think it can be useful for example if you are walking across a hallway with many hotspots all the way. You might want to keep the navigation direction to offer a better experience to the viewer.
7. TODO You can limit the Min and Max vertical rotation of the Camera to avoid the viewer from getting dizzy ESTOY AQUI
8. You can also experiment with the Camera Field Of View but it can give you some weird results. I've found 60 is the one that better suits me. If you plan to use a different one you might want to change it in the IndretsVRFirstPersonCamera.cs script so it affects all your scenes.


